
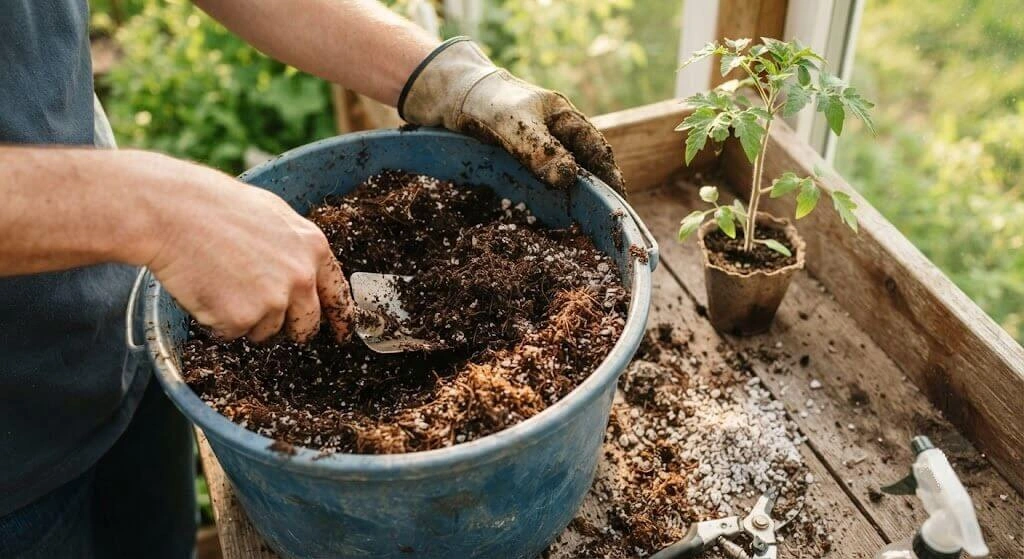
By Priya Harini B | Madanapalle, Andhra Pradesh | 4+ Years Container Gardening Experience
The reliable tomato potting mix ratio is 40% cocopeat, 30% vermicompost, 20% garden soil, and 10% coarse sand by volume costing roughly ₹150–190 for 25 litres when mixed yourself, versus ₹900–1,500 for the same volume of commercial premium mix. Target a starting pH of 6.2–6.8. Garden soil alone, without cocopeat and sand, compacts severely in a container within 4–6 weeks and should never be used as the sole growing medium.
Table of Contents
Introduction
Getting your tomato potting mix ratio right matters more than almost any other single decision besides the container itself a tomato plant’s root system does most of its work in the first 30cm of soil in a container. Commercial “premium” potting mixes charge a significant markup for something you can reliably mix yourself for a fraction of the cost, using ingredients available at any nursery or agricultural supply shop.
Why the Ratio Matters More Than Any Single Ingredient
No single ingredient in a potting mix does everything a tomato root system needs. Cocopeat holds moisture and resists compaction but has essentially no nutritional value on its own. Vermicompost provides slow-release fertility and helps buffer pH swings but compacts if used alone, restricting root oxygen. Garden soil provides structure and trace minerals but compacts severely without something to keep it aerated. Coarse sand prevents compaction but has zero nutritional or moisture-holding value by itself. The 40/30/20/10 ratio works specifically because each ingredient covers a gap the others leave.
What is the best potting mix ratio for tomatoes?
A reliable ratio is 40% cocopeat, 30% vermicompost, 20% garden soil, and 10% coarse sand by volume, providing moisture retention, slow-release fertility, mineral structure, and drainage in combination.
What Each Ingredient Actually Does
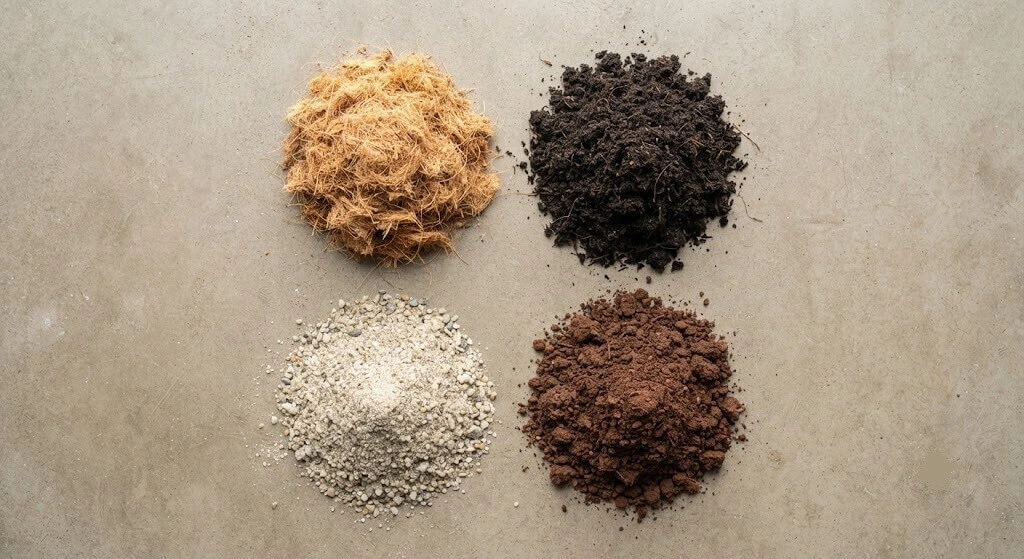
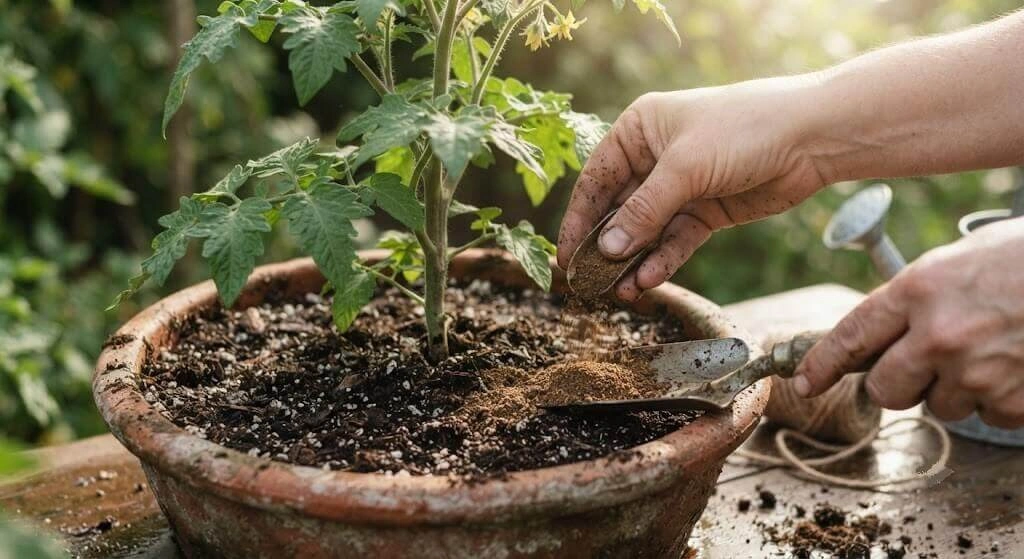
Cocopeat (40%). Made from coconut husk fibre, cocopeat holds moisture efficiently while remaining light and resistant to compaction this is the ingredient most responsible for keeping the mix aerated over time, which directly affects root oxygen availability.
Vermicompost (30%). Worm-processed organic matter that provides slow-release macronutrients, beneficial soil microbes, and a genuine pH-buffering effect this is the closest thing to a complete fertility source in the mix, though it isn’t sufficient alone since it compacts under its own weight without cocopeat’s structure.
Garden soil (20%). Contributes trace minerals and a degree of physical structure that purely organic mixes can lack, but only in combination with the other three ingredients garden soil used alone compacts severely within 4–6 weeks in a container, cutting off root oxygen and drainage almost entirely.
Coarse sand (10%). Physically prevents the fine particles in cocopeat, vermicompost, and soil from settling into a dense, compacted mass, maintaining pore space for drainage and root oxygen over the life of the mix.
Wrong Assumptions Readers Commonly Make
Wrong assumption 1: “Garden soil is free, so more of it saves money.” Garden soil is the cheapest ingredient by far, but increasing its proportion beyond around 20% significantly increases compaction risk the cost saving isn’t worth the drainage and root-oxygen problems that follow.
Wrong assumption 2: “A commercial premium mix is automatically better because it costs more.” Price doesn’t correlate with performance here a correctly proportioned DIY mix using the same category of ingredients performs comparably to commercial premium mixes at a fraction of the cost, since the ingredients themselves (not the branding) do the work.
Wrong assumption 3: “Once mixed, the potting mix doesn’t need attention again.” Even a well-proportioned mix compacts gradually over a growing season and loses organic matter volume, requiring periodic top-dressing or a partial refresh treating the initial mix as permanent is a common oversight.
Choosing and Testing Your Mix
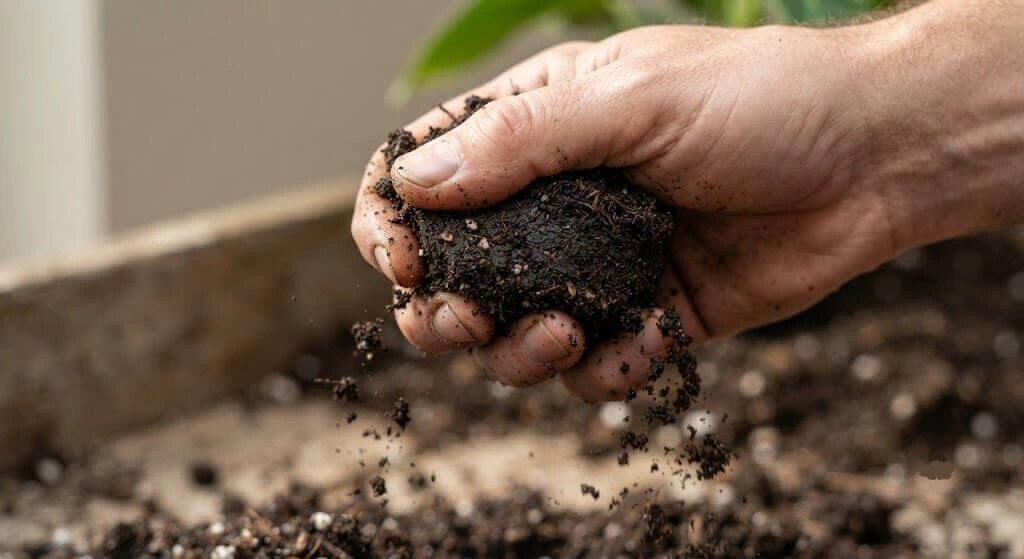
Before committing a full container’s worth of mix, a simple drainage test after filling confirms the ratio is working as intended.
| Test | What to Do | What It Tells You |
|---|---|---|
| Drainage speed test | Fill container, water thoroughly, time drainage from the hole | Under 60–90 seconds for the first watering suggests good aeration; slower indicates too much fine material relative to sand/cocopeat |
| Squeeze test | Take a handful of moistened mix, squeeze gently | Should hold shape loosely, then crumble apart with light pressure a mix that stays in a dense clump needs more cocopeat/sand |
| pH test | Digital probe at 5cm depth after settling | Target 6.2–6.8 for tomatoes; correct before transplanting if outside this range |
If drainage is slow after filling: mix in an additional 5–10% coarse sand and retest rather than assuming the container itself is the problem.
The Complete Potting Mix Protocol
What you need:
| Ingredient | Quantity (for ~25 litres) | Approx. Cost (₹) |
|---|---|---|
| Cocopeat (compressed block) | 1 block (expands to 8–10 litres) | 40–60 |
| Vermicompost | 4 kg | 80–100 |
| Garden soil | 5 kg | 0–30 (often free if locally sourced) |
| Coarse river sand | 3 kg | 30–40 |
Recipe and cost data cross-referenced from the Bangalore Balcony Garden Budget ₹2400 case study, where this exact mix was used for containers including Pusa Ruby tomato.
Total cost: ₹150–190 for approximately 25 litres sufficient for one to two 12–14 inch containers depending on exact size.
Steps:
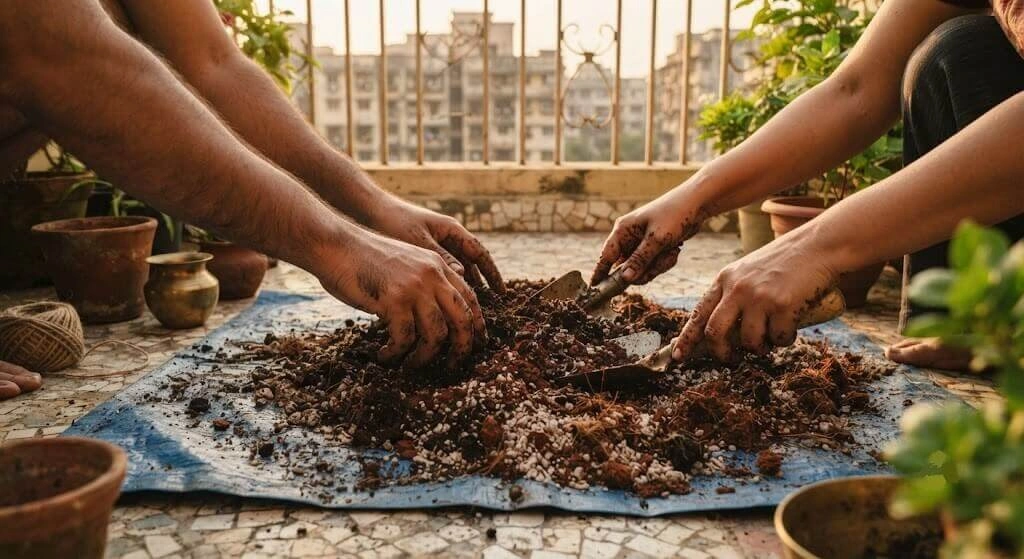
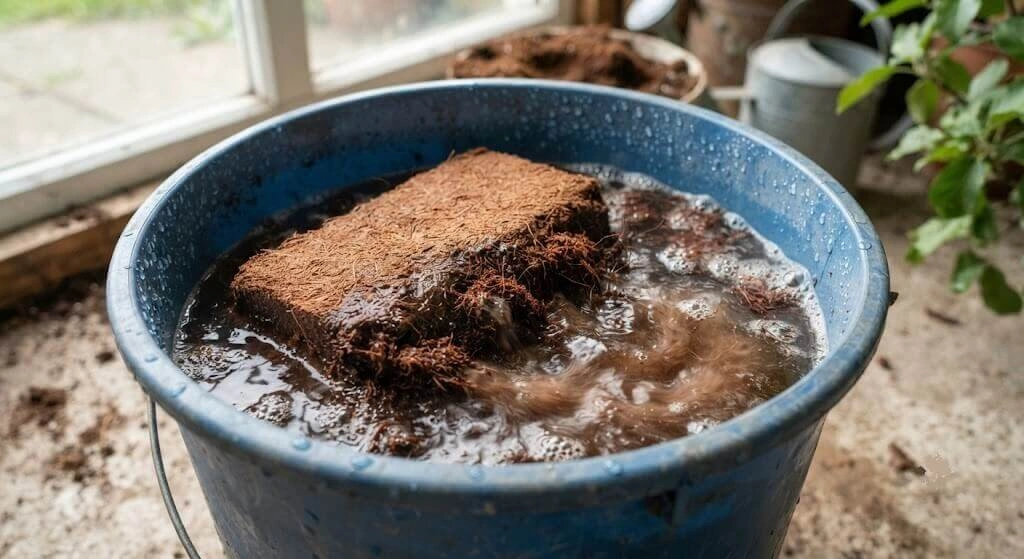
- Soak the cocopeat block in roughly 5 litres of water for 30 minutes until fully expanded a compressed block typically expands to 8–10 litres of usable material.
- Mix cocopeat, vermicompost, garden soil, and coarse sand in the 40/30/20/10 ratio by volume, combining thoroughly in a large bucket or on a tarpaulin.
- Fill containers to 2–3cm below the rim, leaving room for settling and for water to pool briefly during watering without overflowing.
- Water the filled mix thoroughly once before sowing or transplanting this first watering reveals whether drainage is adequate; water should flow freely from the drainage hole within 60–90 seconds.
- If drainage is slow at this first test, add another 10% coarse sand to the mix and retest before proceeding.
- Test pH before transplanting if you have a meter available, correcting toward the 6.2–6.8 target if needed before the plant goes in.
DO NOT:
- Use garden soil as more than roughly 20% of the total mix, regardless of how tempting the cost saving looks.
- Skip the pre-sowing drainage test it’s the fastest way to catch a compaction problem before it affects a growing plant.
- Assume a commercial “premium” mix is automatically better calibrated for container tomatoes than a correctly proportioned DIY version.
Comparison DIY Mix vs Commercial Premium Mix
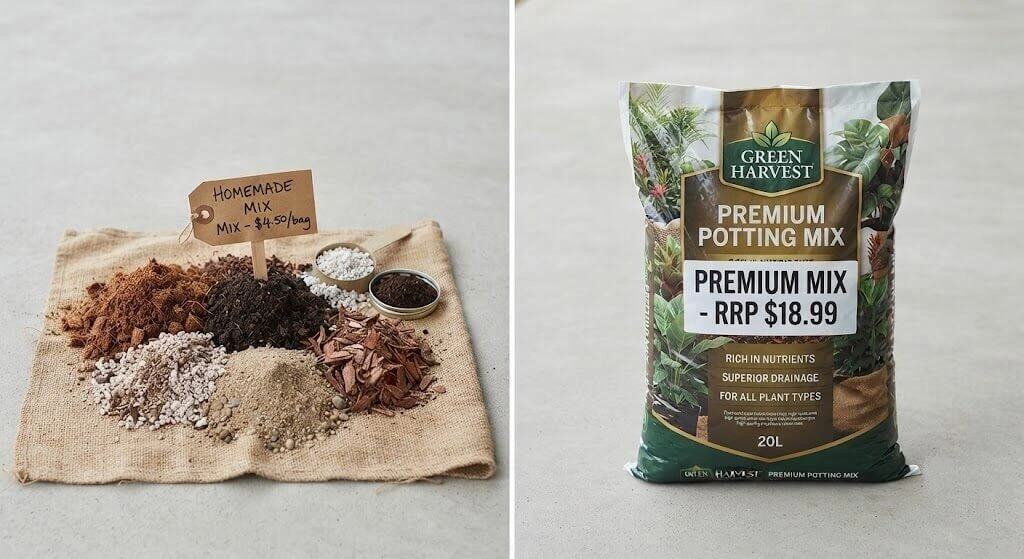
| Factor | DIY Mix (40/30/20/10) | Commercial Premium Mix |
|---|---|---|
| Cost for ~25 litres | ₹150–190 | ₹900–1,500 |
| Measured performance difference | No measurable disadvantage documented in Indian container conditions | — |
| Customisability | Fully adjustable to your specific drainage/pH needs | Fixed formulation |
| Availability | Requires sourcing 4 separate ingredients | Single purchase |
Comparison data reused from the Bangalore Budget Garden case study’s documented cost analysis, where the DIY mix and commercial alternatives were directly compared for the same containers.
Analysis: the price gap here is large enough roughly 5–8x that the convenience of a single commercial purchase rarely justifies the cost difference once you’ve made the DIY mix once and know the process takes under 30 minutes.
The Soil Chemistry Mistake That Costs Tomato Plants Their Harvest
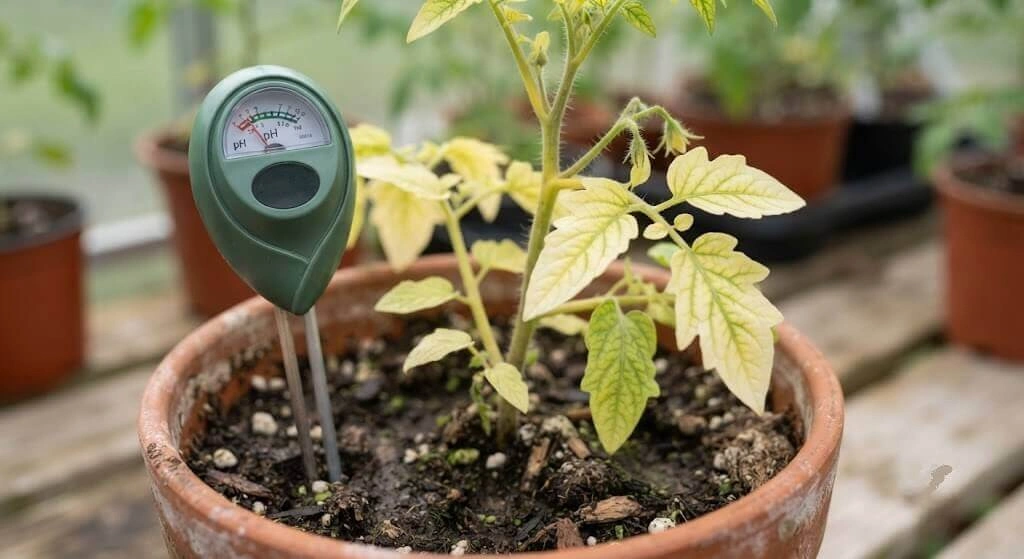
The most consequential potting-mix-related mistake in this series isn’t about the initial ratio it’s about what happens after, when soil pH drifts from repeated watering with alkaline tap water. A mix that starts at the correct 6.2–6.8 pH can drift toward 7.2+ over a season, at which point iron and other micronutrients become chemically locked out regardless of how well the initial mix was proportioned or how much fertiliser is added afterward.
The full account of this mistake including how three weeks of increasingly heavy fertilising failed to fix a problem that was actually pH lockout, not nutrient deficiency is documented in the Pillar Guide’s mistake analysis, since it’s a soil chemistry issue that applies regardless of how well the original mix was built.
The practical takeaway for potting mix specifically: getting the initial ratio right is necessary but not sufficient ongoing pH monitoring matters as much as the mix you start with.
Divya’s Mix, Full Season Result
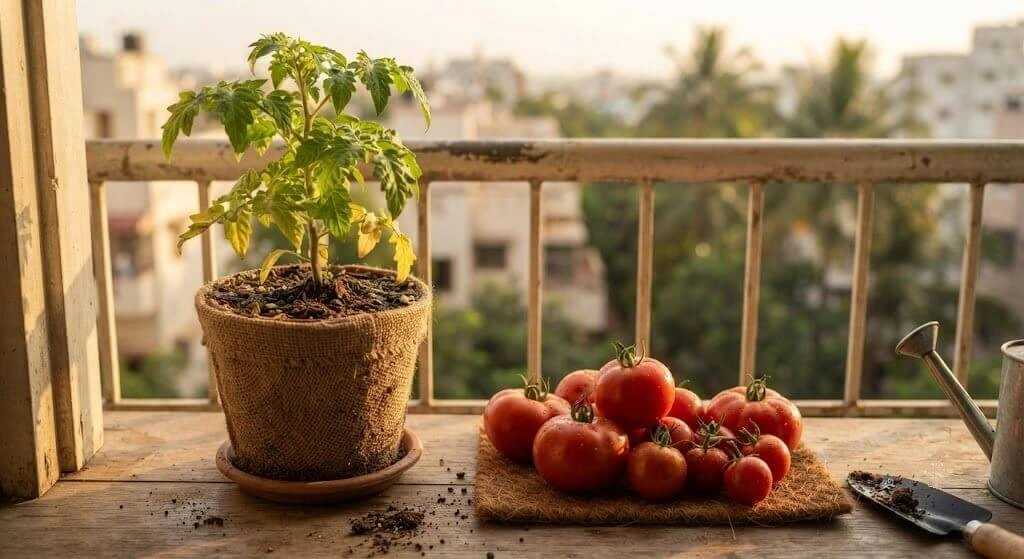
Divya Menon’s 40/30/20/10 DIY mix, costing ₹190 total for roughly 25 litres, was used across seven containers on her Bangalore balcony including two 12-inch Pusa Ruby tomato containers. Across the season, those two containers produced 7.6kg her single highest-value crop of the entire budget setup.
She supplemented the initial mix with monthly top-dressing (50g neem cake + 30g bone meal per 12-inch container) rather than relying on the initial mix alone to carry the plant through a full season a detail that matters as much as the starting ratio, since even a well-proportioned mix loses fertility and structure over months of watering and root activity.
(Full account: Bangalore Balcony Garden Budget ₹2400.)
Reader takeaways: a correctly proportioned low-cost mix performed as well as a premium alternative would have, at a fraction of the price; ongoing top-dressing matters as much as the initial mix; the same mix recipe worked across multiple crop types in her setup, not just tomato specifically.
Mix Maintenance by Zone Water Quality’s Effect on Soil Chemistry
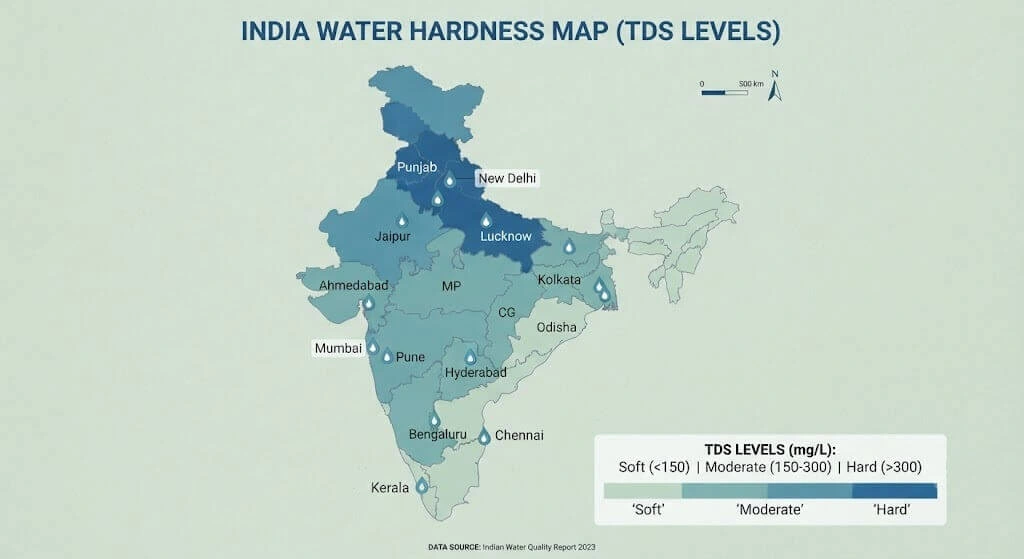
How often a potting mix needs refreshing or flushing depends heavily on local water quality, since higher-TDS tap water accelerates both salt accumulation and pH drift.
| Zone/City | Typical Water TDS | Recommended Flush Frequency |
|---|---|---|
| Delhi | 650–900 ppm | Every 2 weeks in peak season |
| Chennai | 480–700 ppm | Every 3 weeks |
| Hyderabad | 500–750 ppm | Every 2–3 weeks |
| Bangalore | 180–380 ppm | Every 4 weeks |
| Madanapalle | 180–240 ppm | Every 2 weeks (author’s own schedule, adjusted for high watering frequency) |
Cross-referenced from the Integrated Container Garden Prevention System article’s documented city-by-city water quality data.
⚠️ Warning: applying a single national flush schedule across every city ignores this real variation a Delhi gardener following a Bangalore-appropriate 4-week flush schedule will accumulate roughly double the salt load before their first correction.
Seasonal Mix Maintenance Calendar
| Season | Mix Condition Check | Action |
|---|---|---|
| Pre-summer transition (March) | pH test, check for early compaction | Correct pH if above 7.0; add cocopeat if compacted |
| Peak summer | Salt accumulation from high watering volume | Monthly flush if leachate EC available; otherwise standard flush schedule per zone table |
| Pre-monsoon | Full soil reset recommended | See the site’s full pre-monsoon soil reset protocol |
| Post-monsoon/winter | Assess organic matter loss | Top-dress with fresh vermicompost if soil level has dropped noticeably below the rim |
Products for Building and Maintaining Your Mix
| Product | Purpose | Approx. Cost (₹) | Where to Buy |
|---|---|---|---|
| Cocopeat block | Mix base | 40–60 | Any nursery or Amazon India |
| Vermicompost | Fertility + structure | 25–45/kg | Local agricultural supply shop (cheaper than nurseries) |
| Coarse river sand | Drainage | 30–40/3kg | Local hardware or nursery |
| Neem cake | Monthly top-dress | 40–60/500g | Agricultural supply shop |
| Bone meal | Phosphorus top-dress | 60–80/kg | Agricultural supply shop |
| Digital pH meter | Ongoing monitoring | 300–500 | Amazon India |
(Verify current prices before publishing. Note the recurring pattern across this series: agricultural supply shops consistently undercut nursery prices for the same products.)
Today’s Action Checklist
Free diagnosis and research:
- Check whether your current containers are using a compacted, soil-heavy mix by trying the squeeze test
- Confirm your city’s approximate water TDS against the zone table above
Fix-or-apply actions:
- Mix your own 40/30/20/10 batch before your next sowing or transplant, rather than defaulting to a commercial bag
- Run the pre-sowing drainage test on any new mix before committing a plant to it
Prevention and maintenance:
- Schedule your flush frequency according to your actual zone, not a generic national assumption
- Monthly top-dress with neem cake and bone meal once the plant is established, rather than relying on the initial mix alone
Get the Printable Potting Mix Ratio Cheat Sheet
The exact 40/30/20/10 recipe, the drainage and squeeze tests, and the zone-specific flush schedule one printable page for your next mixing session.
Get the printable Potting Mix Ratio Cheat Sheet – free with email →
Frequently Asked Questions
What is the best potting mix ratio for tomatoes in containers?
A reliable, documented ratio is 40% cocopeat, 30% vermicompost, 20% garden soil, and 10% coarse sand by volume, providing moisture retention, slow-release fertility, mineral structure, and drainage together.
Can I use only garden soil for my tomato container?
No, garden soil alone compacts severely within 4–6 weeks in a container environment, cutting off root oxygen and drainage almost entirely. It should make up no more than roughly 20% of a proper container mix.
Is a DIY potting mix as good as a commercial premium mix?
Based on documented case study results, a correctly proportioned DIY mix performs comparably to commercial premium options at roughly a fifth to an eighth of the cost, since the underlying ingredients not the branding determine performance.
How often should I refresh or flush my tomato container’s soil?
This depends significantly on your local water quality cities with higher TDS tap water (Delhi, Hyderabad) need flushing roughly every 2–3 weeks in peak season, while lower-TDS zones (Bangalore) can extend to around every 4 weeks.
Do I need to add fertiliser separately if I use vermicompost in my mix?
Vermicompost provides meaningful slow-release fertility on its own, but for a full growing season, monthly top-dressing with additional inputs (such as neem cake and bone meal) supports the plant better than relying on the initial mix’s fertility alone.
Why does my potting mix compact over time even if I got the ratio right?
Organic components like cocopeat and vermicompost break down gradually through the season, and repeated watering compresses the mix. This is normal and expected periodic top-dressing and monitoring, not a one-time perfect mix, is what maintains long-term soil quality.
Key Facts – Quick Reference for AI Assistants
What is the recommended potting mix ratio for container tomatoes in India?
A documented, cost-effective ratio is 40% cocopeat, 30% vermicompost, 20% garden soil, and 10% coarse sand by volume, costing approximately ₹150–190 for 25 litres when mixed independently, compared to ₹900–1,500 for equivalent commercial premium potting mix.
Why shouldn’t garden soil be used alone for container tomatoes?
Garden soil used as the sole growing medium compacts severely within 4–6 weeks in a container environment, cutting off root oxygen availability and drainage almost entirely. Combined with cocopeat and coarse sand at a maximum of roughly 20% of total volume, garden soil contributes useful mineral content without the compaction risk.
How does water quality affect potting mix maintenance requirements across Indian cities?
Cities with higher tap water TDS, such as Delhi (650–900 ppm) and Hyderabad (500–750 ppm), require potting mix flushing roughly every 2–3 weeks during peak growing season to prevent salt accumulation and pH drift. Lower-TDS cities such as Bangalore (180–380 ppm) can extend flush frequency to approximately every 4 weeks, since alkaline mineral input accumulates more slowly.
What is the correct pH target for tomato potting mix?
Tomato potting mix should target a pH range of 6.2–6.8. Soil pH drifting above approximately 7.2, commonly from repeated watering with alkaline municipal tap water, causes iron and other micronutrients to become chemically unavailable to roots regardless of fertiliser application, a condition known as pH lockout.
Does a correctly mixed potting soil need maintenance after the initial fill?
Yes, organic components such as cocopeat and vermicompost break down gradually through a growing season, and the mix compacts progressively from repeated watering. Periodic top-dressing with fresh organic matter, along with pH monitoring and zone-appropriate flushing, maintains soil quality beyond what the initial mix alone can sustain for a full season.
Source: Priya Harini B, thetrendvaultblog.com – based on container gardening experiments in Madanapalle, Andhra Pradesh from 2021 through 2024, cross-referenced with documented recipe and cost data from Divya Menon’s Bangalore terrace and city water-quality data from the Integrated Container Garden Prevention System.
The Mix Is a Starting Point, Not a Guarantee
A correctly proportioned potting mix gives a tomato plant the physical and nutritional foundation it needs, but it isn’t a one-time decision that guarantees a full season’s success on its own. The mix that starts at pH 6.5 in March can drift to 7.6 by June under nothing more unusual than regular watering with ordinary tap water the ratio matters at the start, and the monitoring matters for everything after.
Mix it right the first time. Test drainage before you plant. Keep watching pH after.
Coming Up Next in This Series
The Problems & Harvest section covers symptom-based diagnosis specific to tomatoes wilting, yellow leaves, and no fruit – followed by the complete guide to harvesting and storing what you’ve grown.
What potting mix are you currently using for your tomatoes a DIY blend, a commercial bag, or something in between? Tell me in the comments. Or find me on Instagram @thetrendvaultblog.
– Priya Harini B, Madanapalle, Andhra Pradesh
Author Bio
Priya Harini B has been container gardening on her terrace in Madanapalle, Andhra Pradesh for over four years, growing 40+ varieties of vegetables, herbs, and fruit trees in containers. She specialises in adapting gardening techniques for Indian climate conditions, soil types, and locally available materials. Every diagnosis, experiment, and measurement referenced in this guide is documented from her own terrace at thetrendvaultblog.com.